
Over time, your beloved pieces of furniture may endure some general wear and tear. Scratches, loose joints and worn fabric can all make furniture look past its best, but they don’t necessarily mean it needs to be replaced. With the right approach, many common problems can be repaired, extending the life of your furniture for years to come.
Revamping old furniture may sound like a tall order, but our six tips for revival will keep you right! And if by the end of this blog you still feel a little unsure, then our furniture-making courses are perfect for learning essential furniture restoration and woodworking skills under the wing of experienced tutors.
1. Repair scratches, dents, gaps and breaks
Scratches and dents don’t necessarily mean the timber needs replacing. At times, they can merely be cosmetic and, once fixed, can renew an old piece.
The right furniture restoration technique will depend on the type of damage, so the first step is to assess the area and consider the depth, extent and cause of the wear.
Some dents in solid timber can be raised by carefully steaming the area – even a household iron and damp cloth can do the trick. The moisture and heat encourage compressed wood fibres to swell and return to their original shape.
Whilst this method works well for smaller dents, gaps or missing wood may require a little more attention. Small imperfections can sometimes be filled using a suitable wood filler or a sawdust and glue mix. Where a larger section of timber is missing, you may need to patch the area with a carefully shaped replacement piece of wood.
If any of these imperfections are caused by something more structural, such as a break in the timber, it’s important to address this first. A break can be strengthened using high-quality wood glue, with the pieces pressed tightly together whilst the adhesive sets for at least 24 hours. Just be sure to remove any debris and dust first, as this can affect how well the new glue bonds, and you could be back to square one!
Making these repairs blend in is a skill in itself and can be achieved by simulating the surrounding grain on new timber so that it’s less obvious. You can do this by sanding the repaired area, painting it a matching base colour and using a rubber graining tool to mimic the wood’s natural lines.
It’s these delicate recovery skills that our restoration course and our broader woodworking courses, like the 30-week professional and 10-week courses, teach.
What about woodworm?
Not all marks and holes are merely cosmetic – they can be signs of something more serious. If you do spot signs of woodworm while giving your furniture a good inspection, don’t panic! The key hints to look for in an active infestation are tiny round holes in the wood and powdery dust. Dealing with this infestation is a must before embarking on any restoration, so make sure you use the appropriate treatment before cracking on with any cosmetic repairs.

2. Give damaged veneer some attention
Veneer is a thin layer of real wood applied over the surface of a piece of furniture. It can add a pop of colour or additional texture to a piece, but its thin surface can make it vulnerable to lifting, bubbling and chipping.
Before reaching for the glue, take a close look at what’s happened. If the veneer is raised or slightly lifted but still intact, it may simply need to be re-adhered. Again, when glueing, it is important to ensure the area you’re working on is clean. Apply a small amount of a suitable glue underneath, gently press back into place and weigh down while the adhesive dries.
Repairing chipped veneer can be a little bit more fiddly. These can be repaired by cutting and inserting a patch of suitable veneer. Make sure you pay close attention to matching the colour and direction of the surrounding grain, unless you’re going for a more abstract look!
More decorative veneers can require specialist repairs. Burr veneer, for example, is prized for its distinctive swirling grain and may sometimes require what’s known as a cloud repair, where a carefully shaped patch is inserted to blend with the irregular pattern around it.

3. Fix loose joints, wobbles and breaks
A wobbly chair might be trying to tell you something more than uneven legs.
First, work out exactly where the movement is coming from. Place the furniture on a flat surface and gently test the legs and joints. Is one particular leg moving, or can you see a gap opening and closing where two pieces of timber meet?
Next, look at how the piece has been constructed. Traditional wooden furniture often uses joints such as mortise and tenons or wooden dowels rather than screws alone. Understanding the construction will help you work out what actually needs repairing.
A loose joint may simply need to be taken apart, cleaned and re-glued, but that won’t always solve the problem. A worn or broken dowel may need replacing, damaged timber around a joint may need repairing, or the joint itself may need adjusting so that the pieces fit tightly together again. Some chairs and tables also have strengthening blocks underneath their corners, which can loosen, split or need replacing over time.
Broken screws may also rear their heads at this point. Rather than working around them, use locking pliers for an exposed stub, a screw extractor bit or a small drill to dig any out.
4. Remove marks and revive the finish
No matter how much you encourage your guests to use coasters, sometimes those pesky watermarks persist. It’s important to determine whether the mark sits within or beneath the finish rather than the timber itself, as this will help you find the solution.
White or cloudy watermarks are often associated with moisture becoming trapped in the finish rather than permanently staining the wood itself. Some can be removed with a wipe of liquid furniture polish or steam and heat. For more stubborn stains like ink, you’ll likely need to refinish the surface, but lighter marks can be gently buffed with a white spirit.
Whatever you do, don’t immediately reach for the sandpaper. Particularly on veneered furniture, it’s all too easy to remove more material than intended. Start with the least abrasive approach and always test any cleaning product on a small, inconspicuous area first.
Once the marks have been dealt with, you can think about reviving the finish itself. Your finish will depend on the furniture, but this might include oil or wax, while traditional pieces may call for more specialist techniques.
French polishing is one such skill that we happen to teach on the 10-week furniture-making course. This involves building up thin layers of shellac to produce the deep, lustrous finish you often see on pieces of fine and antique furniture. It’s a lengthy process that requires a steady hand and lots of patience, but that’s half the fun of learning traditional furniture restoration. Plus, our small class size means that you’ll receive one-to-one guidance from our expert tutors to guide you through it.
5. Reupholster and replace fabrics
Worn, faded or torn upholstery can make otherwise beautiful furniture look worse for wear.
Replacing fabric can breathe new life into chairs, stools and other upholstered pieces, but before getting carried away choosing your new material, have a look at what’s underneath too. Sagging seats or lumpy cushioning may be signs that the webbing, springs or padding need to be replaced.
If you’re tackling a simple upholstery project yourself:
- Carefully remove the old fabric, keeping it to use as a template.
- Check the frame, webbing and padding for any wear or damage.
- Use the old fabric pieces as a guide to measure and cut your new material.
- Pull the new fabric evenly across the chair and secure it in place.
- Trim any excess fabric and finish with optional details such as trims or buttons.
For a more detailed guide, check out one of our previous blogs on how to upholster a chair.
If you’re working with leather, depending on the level of damage, replacement may not be necessary. The material can be cleaned, conditioned and revived rather than immediately removed.

6. Don’t forget the finishing details
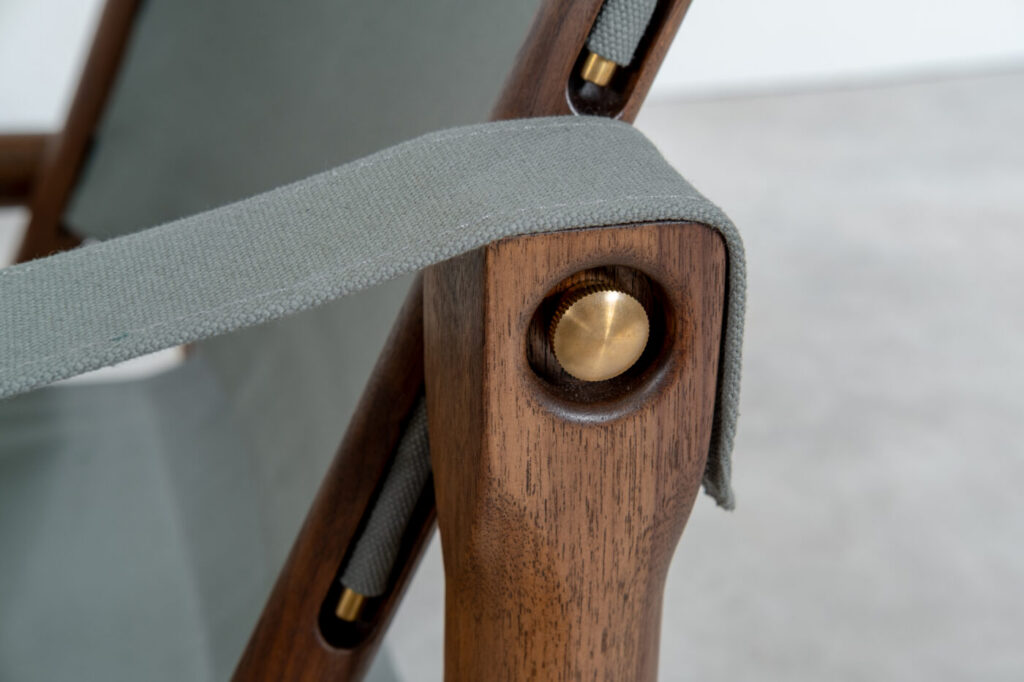
Handles, hinges, locks and other hardware may seem small, but they can add the finishing flourishes to tie the whole piece together.
Original hardware is often worth preserving where possible. Years of dirt and tarnishing may be hiding plenty of character underneath, so a careful cleaning could be all that’s needed to reinstate their original gleam.
If hardware is missing or beyond repair, this is an opportunity to find a replacement that complements the furniture as well as adds your own personal flair. Opting for the newest or most convenient replacement might be a quick fix, but remember, furniture restoration should be fun and an extension of your taste in furniture design.
—
Furniture restoration isn’t simply about making something old look new again. It’s about understanding how a piece was crafted, recognising which elements can be preserved and enjoying the process of caring for your furniture so that it lasts for generations to come.
Looking to revamp your old furniture? Find out how one of our furniture-making courses can equip you with the essential skills needed.