Unsure what to do with that old chair in the corner of your living room, crying out for a new lease of life? Or perhaps you’re searching for a new and creative hobby that will teach you a useful skill? If the answer to either of these questions is yes, then learning how to upholster your own furniture might be on the cards for you.
Upholstery offers a unique, cost-effective and sustainable way to upcycle your tired furniture or restore it to its former glory. While this guide provides a simple step-by-step introduction for beginners, those keen to further develop their skills can join an upholstery course at Chippendale School for a more hands-on learning experience.
What tools do I need to upholster a chair?
It’s worth making sure you’re prepared and have all the right equipment before you start upholstering your chair. Not only does this ensure a cleaner finish, but it will also prevent any injuries. Plus, you’re less likely to damage your beloved chair or fabric if you’re working with the right tools.
What you’ll need:
- Upholstery fabric or material – This is what will make your chair look the part, so make sure you choose a fabric that is aesthetically pleasing and to your taste, as well as durable and easy to work with. Cotton canvas, twill or upholstery-weight polyester blends are great beginner-friendly options since they’re sturdy enough to withstand regular use but still flexible enough to stretch and staple neatly. Using a fabric made for upholstery is always better in the end….it goes on by itself!
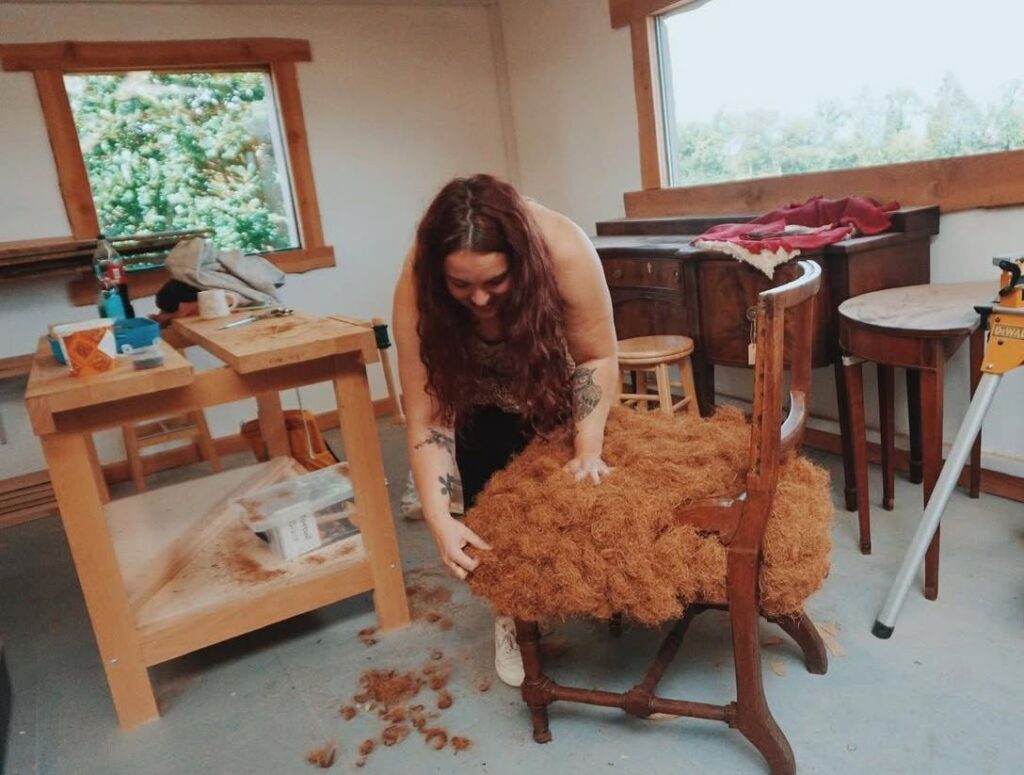
- Webbing, wadding and padding – Comfort is key to any chair, and these materials will help with this. The webbing creates a supportive base for the seat, while the padding (usually horsehair or a similar natural material) provides the main cushioning. Wadding will help to smooth everything out and add an extra layer of padding between the foam and the fabric.
- Scissors, staple gun and tack remover – First up, you’ll need to cut your fabric, so a sharp pair of fabric scissors is essential. Then comes removing the old tacks or staples. While you can use a knife or screwdriver, a proper tack remover is far safer and much easier to handle. When it’s time to secure your new fabric, beginners often find tacks more forgiving than staples – they can be tapped in halfway to hold the fabric in place, then easily adjusted before you commit. Staples are kinder to the wood, but they’re far less user-friendly if you need to undo anything. That said, they’re still a perfectly good option if tacks aren’t available.
- Decorative trims and buttons – These are optional but can help add the final personal touch to your chair. Trims, piping or braid can help hide staples and give a polished finish around the edges, but you may want to add buttons or tufting to give your chair a more traditional or bespoke look. Worth noting that piping is a whole new skill of its own, especially if you are attaching it to a box cushion.
Other tools that might come in handy are:
- Measuring tape and chalk or fabric marker – as the saying goes, ‘measure twice, cut once’.
- Rubber mallet – This can be helpful for gently knocking your chair parts back into place without damaging the wood.
- Dust sheet – Upholstering a chair can be a messy business, so make sure to protect your floors!
A step-by-step guide to upholster a chair
Once you’ve got all your tools, it’s time to get started on your project.
Step 1: Strip the chair
- First, carefully take apart the chair and remove the old fabric and staples. Hang tight to the old fabric for now, as this will act as a template for when you cut the new fabric – remember to mark top/bottom/left/right. It might look a bit daunting at this stage, but in a few steps, you’ll have a beautiful new chair!
Step 2: Inspect and repair the frame
- This is a chance to give the bones of your chair a little TLC. Take some time to tighten the joints and repair any damage. This might include sanding, priming and painting the frame to give it a refreshed look. Just be sure to let it dry before cracking on with the next step.
Step 3: Replace padding or webbing
- You might find that the comfort layer has worn over the years, so you’ll need to remove it and replace it with new padding or webbing.
Step 4: Cut and attach the new fabric
- Using the original upholstery pieces as your guide, measure and cut your new fabric. Take time to consider pattern matching as you drape each piece over the relevant section of the chair. Adjust the pieces until they sit correctly, but avoid trimming anything until the fabric is firmly attached to the frame. Once you’re happy with the positioning, pull the fabric firmly so it smooths out evenly across the surface, then staple it in place. If you’re seeing bumps or bunching, that’s a sign something isn’t quite right. It is usually an issue with how corners have been cut or how the fabric has been tensioned. Corners in particular need careful cutting and shaping, and it’s a technique that improves with guidance and practice. Take your time, enjoy the process, and remember that these skills are best learned hands-on—exactly the kind of support we offer on our upholstery course.
Step 5: Finishing touches
- You’re almost there! Tidy excess fabric and add any optional details like trims or buttons to give your chair a touch of flair. Cut a piece of black breathable fabric to staple to the underside of the chair. This will conceal any springs or padding, plus it acts as a dust cover to protect the bottom of your chair. Finally, reassemble the chair if you took it apart in step 1.
Remember, reupholstering is a skill that rewards patience, so don’t rush it. Take your time and let yourself learn as you go – the satisfaction of seeing your finished chair is absolutely worth it.
Common upholstery mistakes to avoid
Even the most experienced upholsterer starts out making a few mistakes – it’s all part and parcel of the learning process! But, if you want to adopt good habits from the start of your upholstery journey, here are a few common mistakes to try and steer clear of:
- Rushing through fabric removal
- Choosing a difficult fabric for your first project
- Cutting fabric too short
- Pulling the fabric unevenly
- Stapling or tacking too close to the edge
- Neglecting the frame
—
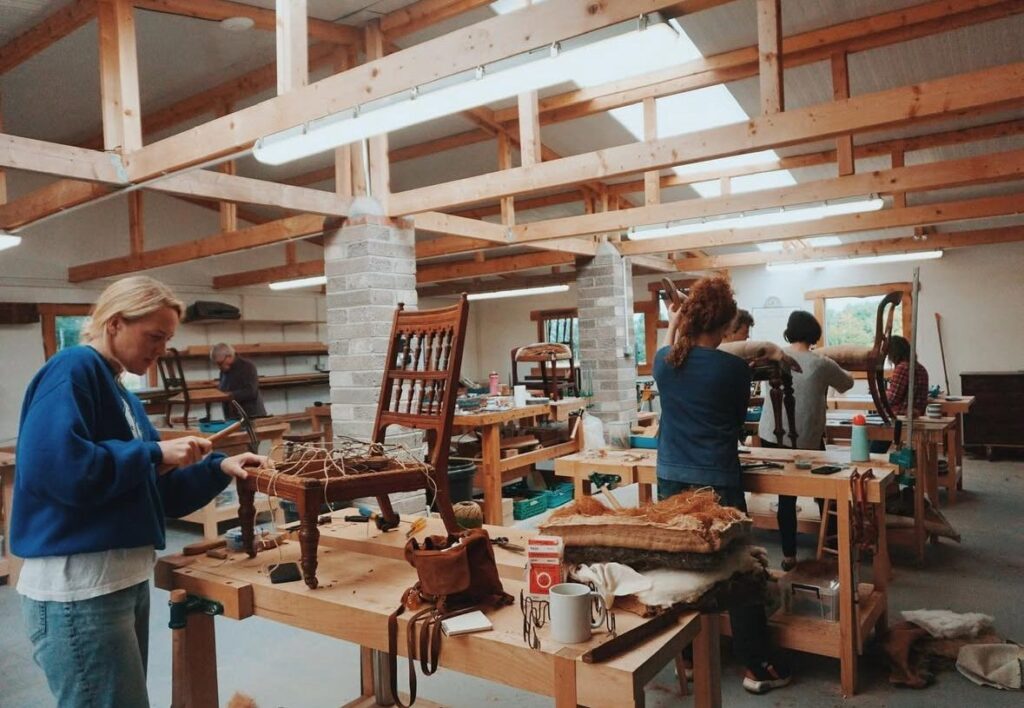
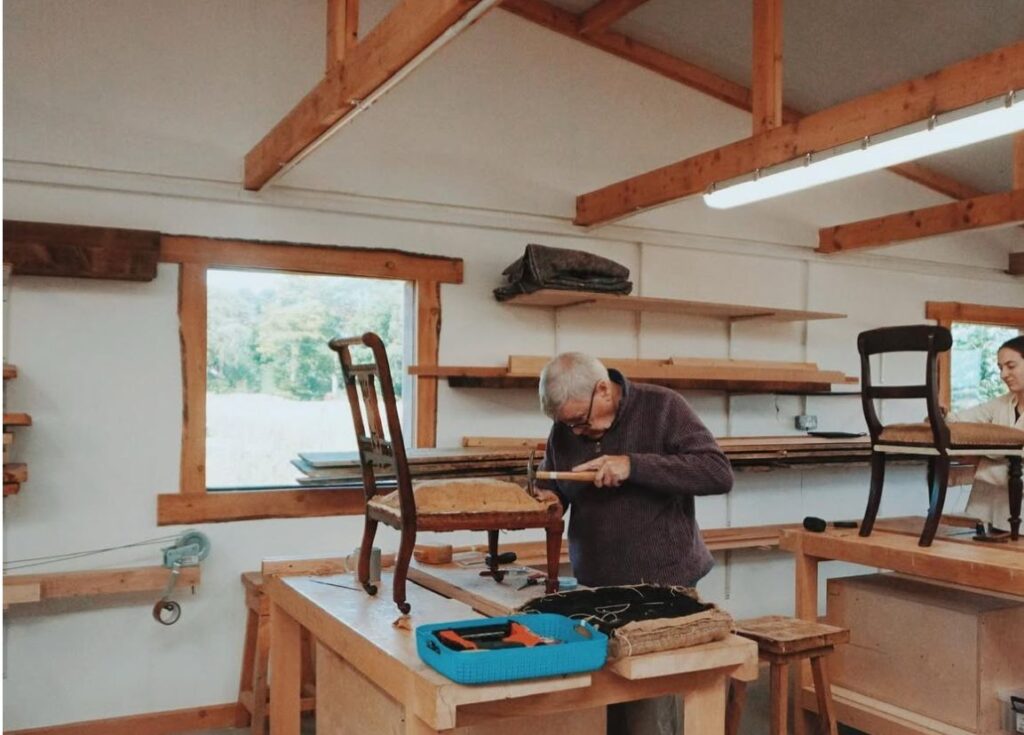
The Chippendale International School of Furniture, just outside of Edinburgh, offers a welcoming space where you can switch off from the day-to-day and immerse yourself in learning a new craft, such as upholstery or furniture restoration. You’ll be supported by our expert tutors and get to learn alongside fellow beginners who share your enthusiasm for the skill.
Feeling inspired? Explore our upcoming courses and learn from experienced tutors in a relaxed, creative setting.