
Whether you’ve always admired beautifully crafted furniture and dreamed of creating your own, or you’re simply looking to explore a new and rewarding hobby, taking those first steps into woodworking can feel a little overwhelming. There’s a lot to take in, and it can be hard to know where to start.
In this guide, we’ll help you find your footing. You’ll learn how to plan your first project, choose essential tools, build with confidence, and recognise when extra support, such as a furniture making course at the Chippendale School, could help you progress further.
Step 1: Planning what you are going to make
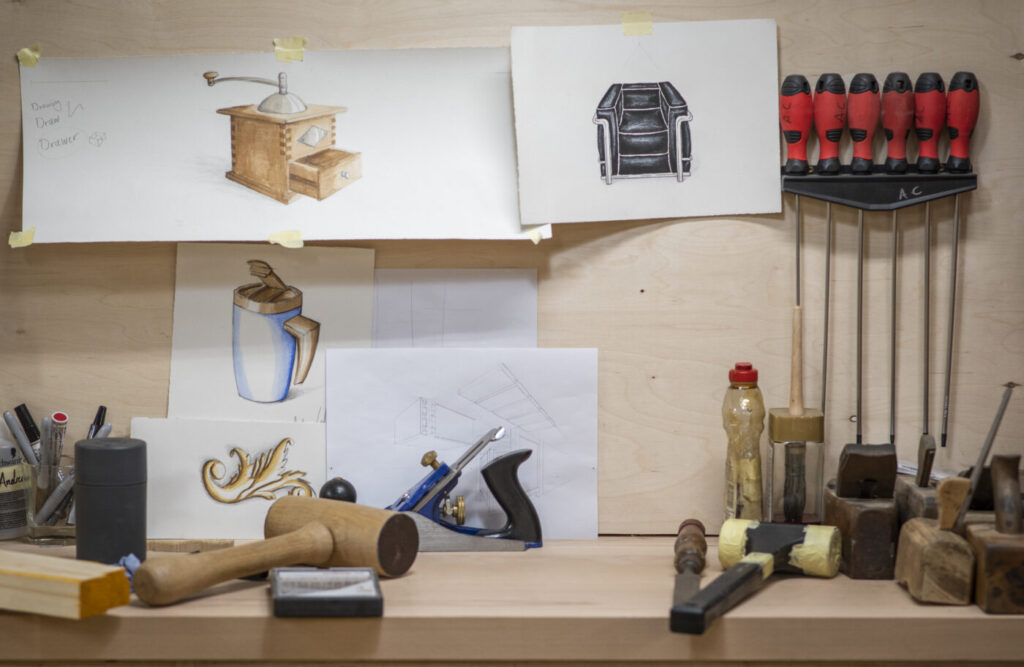
Before you start sawing, sanding, or sourcing materials, it’s worth taking time to plan your first project carefully. This not only saves time and frustration later but also helps you build a clear picture of everything you’ll need. From materials and tools to the smaller details like hinges and handles, proper planning prevents poor performance!
If this is your very first piece, simplicity is key. Smaller projects, like a wall shelf, bedside table, or cabinet, are manageable within a realistic timeframe. These will let you practise the fundamentals of woodworking like measuring, cutting, assembling, and finishing. By starting small, you can focus on building confidence and good habits, rather than rushing to complete something overly ambitious.
It’s also worth thinking about functionality. A project with a clear purpose, something you’ll use and see every day, adds an extra sense of satisfaction. There’s nothing quite like placing a cup of tea on a table you’ve made yourself.
Step 2: Sourcing your tools and materials
With your plan in place, it’s time to gather your tools, set up your workspace and source the right materials for your project.
What you’ll need really depends on the scale and complexity of what you’re making. Most furniture projects will involve cutting, and a bandsaw is one of the most useful machines you can have. Whether you buy an affordable hobbyist model or a larger, industrial setup, resist the urge to start sawing until you’ve perfected your measurements. A tape measure, ruler, and combination square will quickly become your most-used companions, rarely leaving your apron pocket once you get going.
For smaller furniture pieces, you’ll need hand tools like chisels, hand planes, a good saw, and a few reliable clamps. Larger builds, like a sideboard or table, may call for power tools or machinery. These bigger investments can seem like a barrier, but there are practical alternatives; you can hire equipment or even rent a bench at a fully equipped workshop. We offer this at our Myreside Studios at Chippendale School, where makers can access high-quality tools, space, and guidance.
When it comes to materials, choose wisely. Consider the type of wood best suited to your design, the durability you need, and the look you want to achieve. A well-chosen material not only affects how your finished piece performs, but also how enjoyable it is to work with, something you’ll come to appreciate as you bring your project to life.

Step 3: Start building
Now comes the part every maker looks forward to: putting it all together! With your materials and tools ready, you’ll move through three key stages – measuring and cutting, assembling, and finally, finishing your piece.
- Revisit your plan from start to finish so you fully understand each step before you begin. Accuracy at this stage makes all the difference later on.
- Mark and measure carefully, taking your time to square your boards and note which side of each cut will be discarded (a simple ‘X’ on the waste side helps).
- “Leave the line”. Cut just outside your mark to allow for the blade width (known as the kerf) and refine it afterwards if needed. These small habits lead to cleaner cuts and joints that fit beautifully.
- Assemble your pieces. Once all your pieces are prepared, it’s time to assemble. For beginners, pocket-hole joinery is a great place to start; it’s simple, strong, and forgiving. As your confidence grows, you can explore more intricate joints like half-lap, dovetail, or wedged-tenon joints. These techniques require more precision but result in a lovely finish. We teach you how to master these joints on our 4-week and 10-week courses here at Chippendale School.
- Take your time during assembly. Remember, patience is your best tool. Pre-drill pilot holes to prevent the wood from splitting, countersink your screws so they sit flush, and start sanding earlier than you think. Smoothing individual parts before final assembly helps you reach every surface. Apply wood glue, clamp securely, and give it time to cure properly before moving on.
- Add the finishing touches. This is where your project transforms from raw wood into a piece that’s ready for your home. Sand thoroughly, wipe away dust with a tack cloth, and decide whether to enhance the wood’s colour with a stain or preserve its natural tone. Then, seal it with a protective finish such as wax, shellac, or polyurethane.
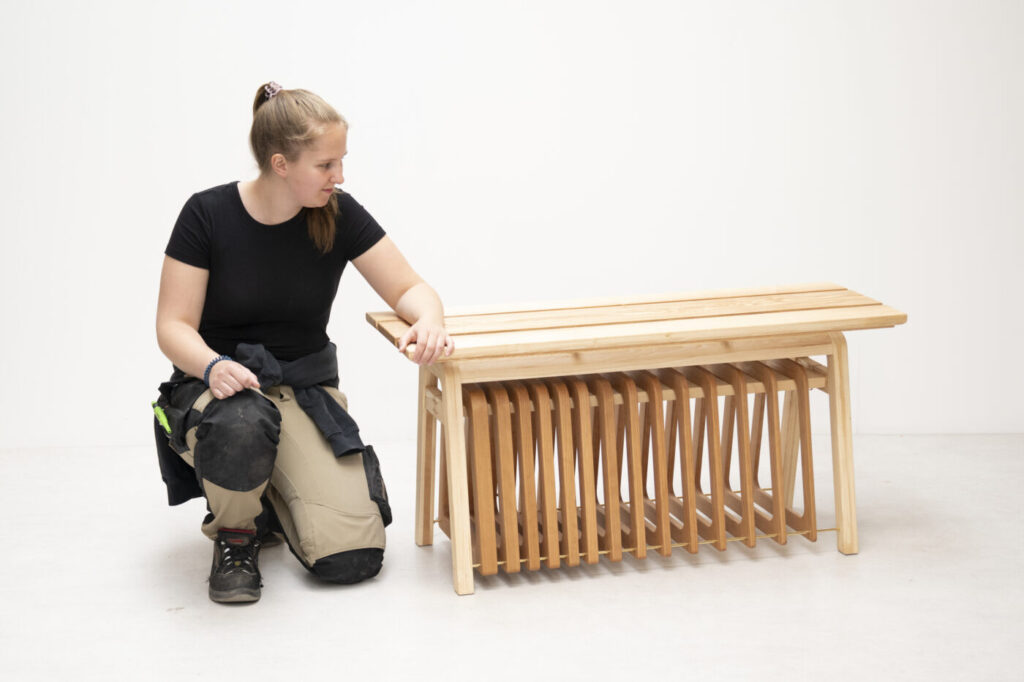
- Appreciate your work. At Chippendale, many students say this final stage is where the magic happens. After hours of effort, you see your creation gleam for the first time — a satisfying reminder of how far you’ve come from those first careful pencil marks on a plank of wood.
Step 4: Get expert advice
Sometimes, the best way to progress is to learn alongside someone who knows the craft inside out. If you’re wondering whether structured tuition would help, it probably would and is often the wisest choice. For roughly the same cost as renting a large bandsaw for a few weeks (and managing storage, maintenance, and safety), you could invest in a furniture making course that gives you access to tools, a fully equipped workspace, hands-on guidance, and support from someone who is passionate about seeing you succeed.
At Chippendale School of Furniture that someone is Principal Tom Fraser, who is equally driven by nurturing beginner makers as he is about masterful craftsmanship. Tom is also always happy to chat, whether over a call or in person, about which course might work best for you.
Find the right furniture making course for you
Choosing the right course depends on your time, goals, and level of commitment. Here’s a quick guide:
- Weekend or 1-week courses: Perfect if you’re completely new, curious, or want a taste of woodworking. Options include spoon-carving, woodturning, and introductory sessions.
- 4-week course: Great for beginners ready to make a small or medium-sized piece, learn key skills, and gain hands-on experience.
- 10-week course: Ideal for those who want to explore more complex projects, advanced joinery, and multiple builds.
- 30-week/professional course: For serious learners, covering restoration, design, and business skills.
—
If you’re unsure where to start, Tom is happy to discuss your aims and guide you to the course that suits you best. Our top tip is to start with a shorter course to see if it’s right for you. If you love it, as most students do, you can build up to longer courses and take your skills even further.
Explore our courses today to find the furniture making course that’s perfect for you.