Furniture making usually involves things like dovetails and band-saws, although it can sometimes mean handling the most delicate of paintbrushes.
It usually happens when a broken piece of furniture needs a new section to be attached, or when its surface patina has been badly scuffed or chipped away.
That’s when the delicate art of colour matching comes in, so that the entire piece of furniture can be restored to its original splendour.
It may seem like an adjunct to furniture restoration, but it’s actually crucial to it. The woodworking skill needed to mend a broken chair might be considerable, but if its colour doesn’t match across the whole piece, the restoration is greatly compromised.
One of the most common mistakes is trying to get an exact match in a single layer, and it just doesn’t work like that, and the advice we give students is to practice, practice, practice on scrap pieces of wood.
The initial step, using water stain powders, is that the first layer should generally be a light yellow. Then shades of brown can be introduced to gradually darken the colour.
Or, like watercolours, other hues can be mixed. For example, adding a touch of green to bright red water stain will tone down the redness.
Then comes the polishing stage. If a perfect colour match has been achieved, all that’s required is a white polish.
But if the wood needs a more mellowed look, then it’s advisable to use a button shellac (yellow) polish or, for really old pieces, a garnet shellac polish.
The school’s professional course curriculum is designed to give students new ideas and new skills on a daily basis, but to enable them to learn in an enjoyable and positive environment.
So, while learning to wield a small paintbrush might not seem like woodworking, it’s something that’s surprisingly important in furniture restoration.
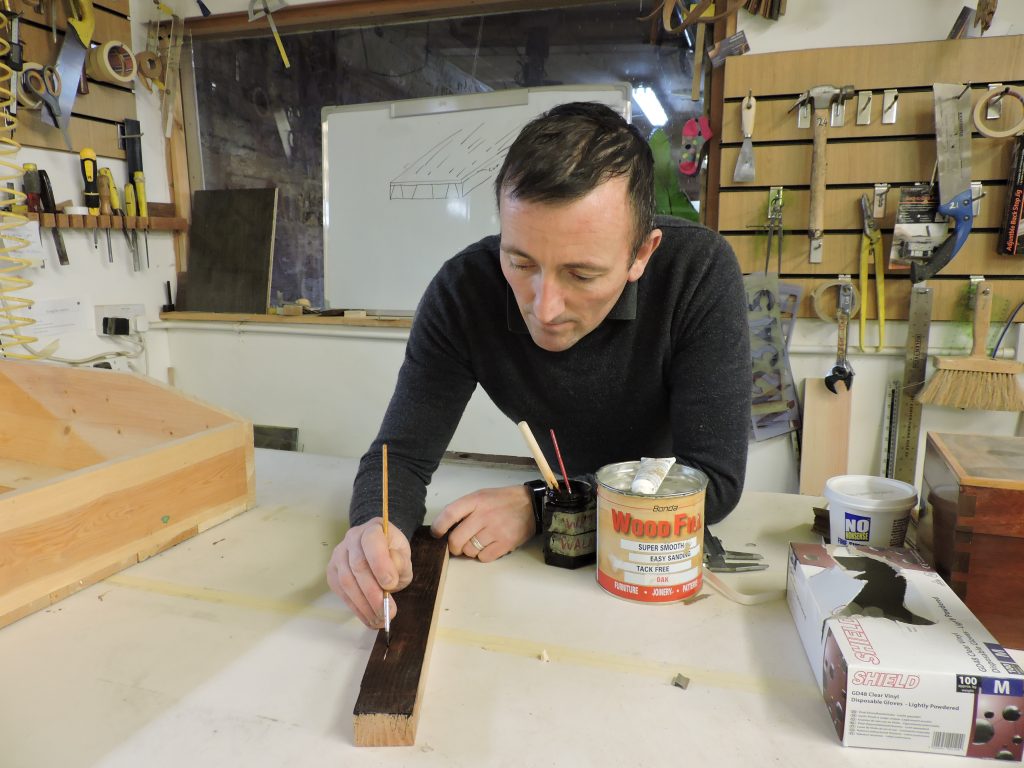
Picture: Tutor Graham Davies demonstrates how it’s done.